You smell the roaster before you see it. Last Saturday, the parking lot at Central Market smelled like charred green chile from the moment I opened the van door, and by the time Wyatt and I reached the big tumbling drum out front, he had decided this was the best errand of the summer.
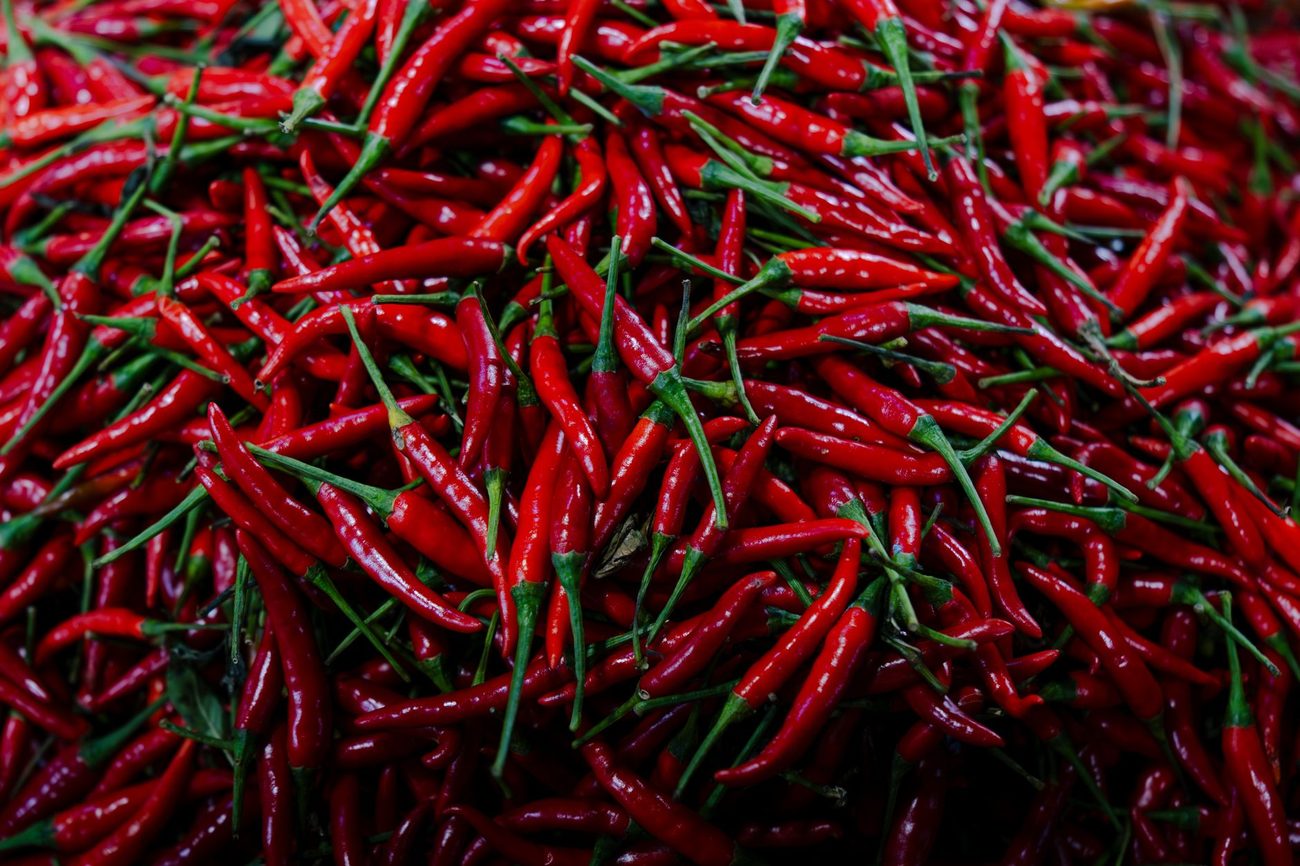
We bought ten pounds of Hatch chiles, eight pounds mild and two hot for Matt, and they roasted them right there while we watched: $14.90 total, or $1.49 a pound. The man running the roaster tipped them into a plastic-lined bag, still hissing, and we drove home with the windows cracked. The van smelled like chiles for four days. Nobody complained.
Why this year's batch mattered more
The last two bags of last summer's chiles went into the trash with everything else when our old chest freezer died at the beginning of the month. The new freezer still had plenty of room, and these were the first thing I was truly excited to put in it. Ten pounds is my best guess at what carries us to spring.
How we peel, portion and freeze them
The roasting is the easy part when someone else does it. The rest took about two hours at the island, and here's the order I work in:
- Let them sweat. Leave them closed in the bag for 20 to 30 minutes. The steam loosens the skins.
- Put on gloves. I skipped this for the first ten chiles, thinking I'd be careful, and my hands burned until bedtime. Mild chiles are not mild on your skin for six hours.
- Set up the station. A sheet pan of chiles on the left, a bowl for skins and stems in the middle, a cutting board and a clean sheet pan on the right. Wyatt pulled stems wearing a pair of my gloves while I peeled.
- Peel half, leave half. I peel and seed about half the batch. The other half I freeze with the skins on, because the char slides right off once they thaw, and it saves me an hour now.
- Portion. About a cup of chopped chile, or four or five whole ones, per quart zip bag. That's the amount most of our recipes call for.
- Flatten and label. Press each bag flat, squeeze out the air, and write the date and MILD or HOT in big letters. The hot bags also get a red X, because a mislabeled bag in a pot of queso is how you lose a first grader's trust.
- Freeze flat. The bags go on sheet pans in a single layer overnight, then stand up in a bin in the chest freezer like files.
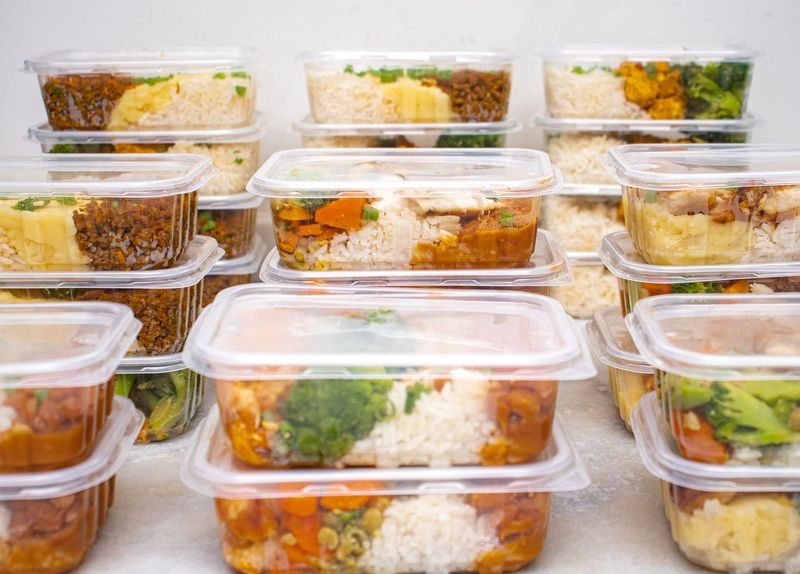
Ten pounds made fourteen quart bags, eleven mild and three hot. The skins-on bags are a little bulkier, but they still stand up in a row.
Rosie, who is two and has opinions, spent the afternoon at the kitchen table with a cup of frozen blueberries, a safe distance from all of it. Biscuit sniffed the bowl of skins once and walked away offended.
What they turn into
Here's where the bags go over a fall and winter at our house:
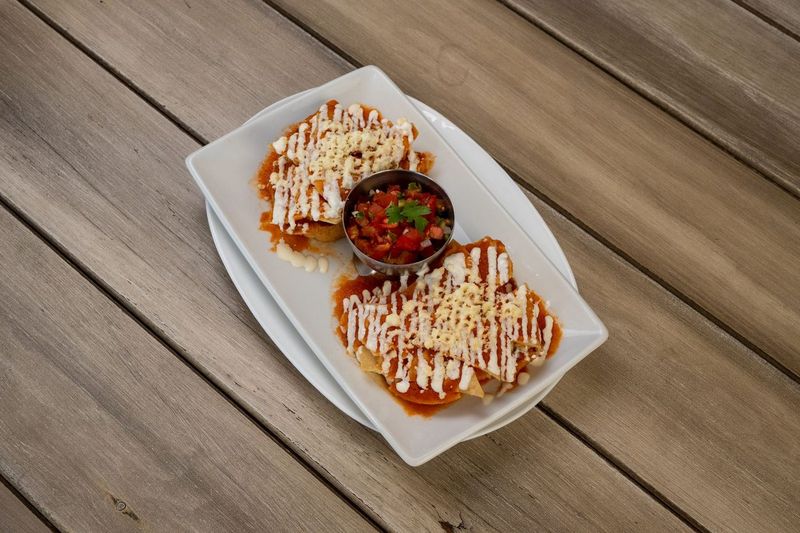
- Green chile chicken enchiladas, two bags per pan
- Queso, one bag per pot, mild only for the kids' side of the table
- Green chile cheeseburgers whenever Matt fires up the Weber
- Migas and breakfast tacos, a few spoonfuls at a time
- Chicken tortilla soup, once the weather finally turns
- Skillet cornbread with chopped chiles and cheddar folded into the batter
The skins-on bags are best for anything I'm going to chop small anyway, like queso and cornbread. The peeled bags go into enchiladas and burgers, where I want neat strips and no bits of char. To use one, I either move it to the fridge the night before or run the sealed bag under warm water for a couple of minutes, and because they're frozen flat, they thaw fast and snap apart if I only need half.
Receipt check: $14.90 for the chiles plus about $1.40 in zip bags, so $16.30 for fourteen bags, about $1.16 each. One bag does the work of two small cans of green chiles, and it tastes like August.